
Baby, It’s Cold Outside: Winterizing Your RV
The decision of whether or not to winterize your RV is always a balancing act between risk and time spent.
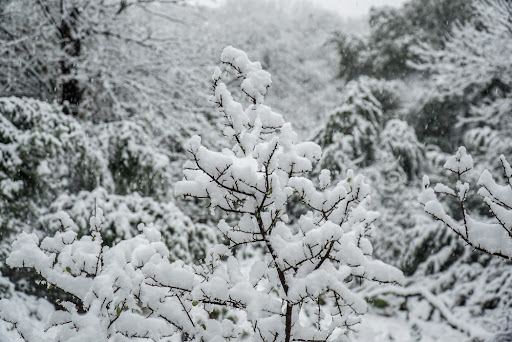
If you live in the northern half of North America, the decision is simple – you must winterize.
If you live in the south, in places like Tyler, Texas, deciding whether to take the time and trouble to winterize is a gamble with the weatherman. Woodland Creek RV Park has some suggestions for you:
Before you winterize and store your RV, clean it like you’re going to sell it.
- If it doesn’t have a factory seal, out it goes.
- Clean all fabrics, windows, floors, refrigerator, microwave, stovetop, oven if you have one, and clear out all food that could either rot, freeze, or attract pests.
- Clean your bathroom surfaces and fixtures.
- Close all vents and add screens if needed to keep out mud daubers and other insects. Consider adding dehumidifier agents to your bathroom and kitchen, and leave the refrigerator door open.
What could happen if you don’t go through the tedious winterizing process and your RV does freeze? The critical parts of your RV are the water system and the electrical system, including your batteries and your generator, if you have one. What could go wrong?
Winterizing Your RV Water System
If you live anywhere north of the Florida Keys, you know that water in the pipes of a poorly insulated and unheated building will freeze if the temperature goes below freezing for several hours. Water swells as it freezes, and the ice will crack your pipe and tanks.
Water can ruin your RV. Also, RV plumbing is not easy to repair, so be aware of temperatures and approaching weather even if you’re using your RV. If you’re putting it into storage (unless it’s climate-controlled) over the colder months, you must take care of your plumbing. Don’t think that just draining your tanks and pipes and leaving your RV plugged in is enough. Here’s a quick rundown of how to winterize your water system.
You’ll need to consult the owner’s manual to learn precisely how to do some of the steps.
What to Do
- Buy some RV antifreeze – the pink stuff. Don’t use regular (poisonous) auto antifreeze; you’re going to be drinking out of those pipes! You’ll need 3-5 gallons. You’ll also need a wand designed to help clean and flush your black tank, a water heater bypass kit, and essential tools.
- Switch off your water heater and let it cool. After it’s cooled, remove the drain plug and open the pressure relief valve.
- Do you have any water filters or a filtering system? Take them out of the water system.
- Drain all three tanks in this order: black tank, gray tank, then the fresh water tank. Do it in this order because you don’t know if you’ll need some clean water, and the water from the gray tank will help clean the sewer hose after it moves the nastiness from the black tank to the dump valve in the campground.
- After draining all the tanks, turn on the faucets and drain the pipes and hot water tank. Don’t forget your outside shower. Drain the toilet and use your water pump to get the last drops out of everything. Make sure to shut off the pump as soon as the water is gone!
- Bypass your water heater. Consult your owner’s manual.
- Add antifreeze to your system. There’s more than one way to do this, depending on the make and model of your RV. Again, check your owner’s manual. Work your way through your RV, from the closest to the farthest pipes and faucets. Pour a cup of antifreeze into the P traps under your sinks and shower drain. Don’t forget that shower, and flush your toilet until you see pink antifreeze.
- Double-check everything.
Your Electrical System
- Remember that many batteries contain water, which can freeze and destroy your batteries. Remember also that they are expensive! Your safest option is to remove them from the RV and store them in a dry, non-freezing space. Use a battery tender (also called a trickle charger) to keep them charged.
- Turn all your switches to OFF for lithium batteries, including the battery switches. Remove and store them in a dry, non-freezing place, but you will probably not need to attach them to a trickle charger.
- If your RV is a motorhome, remember the battery in the engine compartment. If you’re storing it in a climate-controlled facility, put a trickle charger on it if possible; otherwise, you may discover a dead motorhome. (You could always take the battery back and forth to your home trickle charger, but that’s much harder.)
- Prepare your generator, if you have one. It’s crucial to consult your owner’s manual for this! After filling the tank with fuel, add a fuel stabilizer, then run it under load for 30-60 minutes before shutting it down. Oil and filters need to be changed if you haven’t done so recently. Check connections and disconnect any ground terminal. Most generator manufacturers recommend running the unit for 30 minutes each month.
Winterizing Your RV
Of course, there is a much easier way to winterize your RV: you could eliminate these steps and move to a climate without cold weather!
Tyler, Texas is the perfect place to live or travel. Not only are the lakes breathtakingly gorgeous, but the winters are much more forgiving than those up north that make you wonder why you got out of bed in the morning.
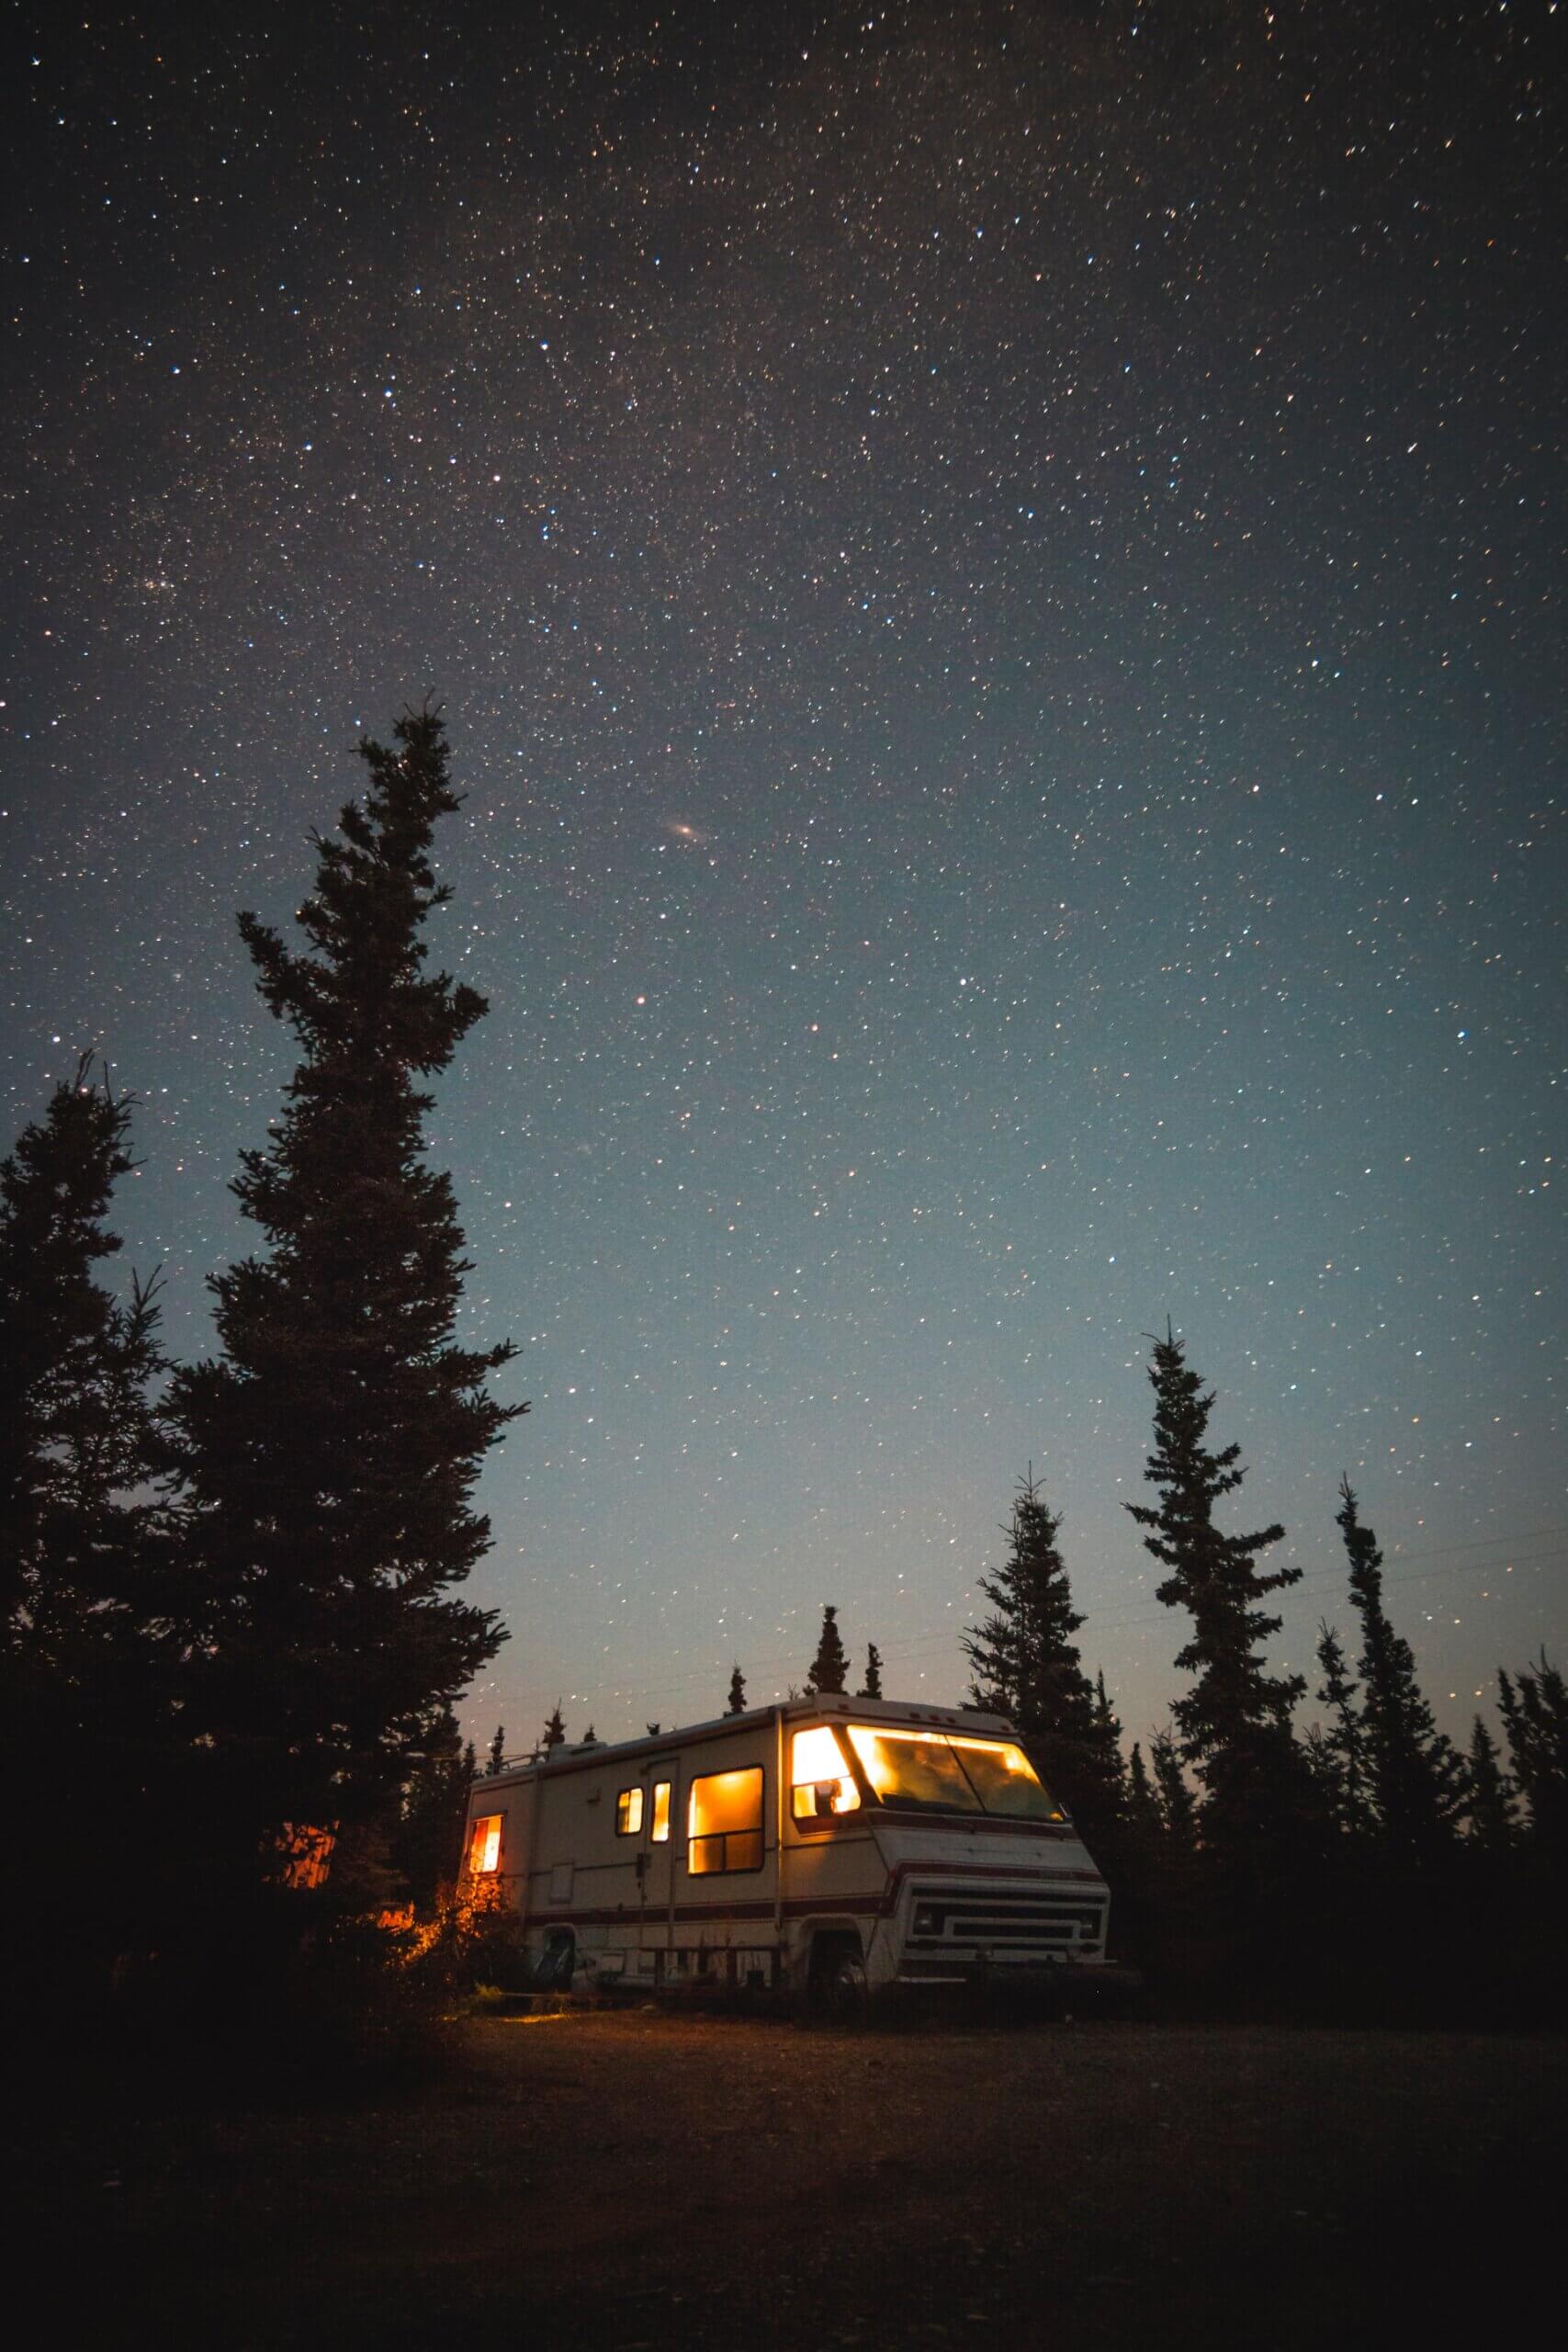
Either way, RVing is fun. If you haven’t had pancakes and coffee over an open flame in the morning, then you haven’t lived, and Woodland Creek RV Park can prove it.
Give Woodland Creek RV Park a call today, to find out what treasures await you in the great state of Texas. You’ll be glad you did.